Every driver eventually encounters the inconvenience of a flat tire. Whether caused by a puncture, worn tread, or road debris, a flat tire can occur unexpectedly and leave drivers stranded if they are not prepared. Knowing how to change a tire is one of the most important practical skills for anyone who operates a vehicle. It provides independence, saves time, and allows drivers to handle roadside emergencies without waiting for assistance.
Learning this essential skill does not require professional mechanical experience. With the correct tools and a clear understanding of the process, almost anyone can successfully replace a damaged tire with a spare. The key is preparation, patience, and careful attention to safety.
This detailed guide explains how to change a tire step by step, covering everything from preparation and required tools to safety precautions and proper installation techniques. By following these instructions, drivers can confidently handle a flat tire situation and continue their journey with minimal disruption.
Essential Tools Needed to Change a Tire
Before beginning the process, it is important to ensure that the necessary equipment is available. Most vehicles come equipped with basic tools designed specifically for tire replacement.
The most important tool is a spare tire, which serves as the temporary replacement for the damaged tire. Many vehicles store the spare tire in the trunk, beneath the cargo floor, or mounted underneath the rear of the vehicle.
Another essential tool is the jack, which lifts the vehicle off the ground so the tire can be removed safely. Without a jack, it would be impossible to remove the wheel because the tire would remain pressed against the ground.
A lug wrench is also required. This tool loosens and tightens the lug nuts that secure the wheel to the vehicle’s hub. Lug nuts are typically tightened firmly, so a sturdy wrench is necessary to provide enough leverage.
Additional helpful items include wheel wedges, gloves, a flashlight, and a reflective safety triangle. Wheel wedges prevent the car from rolling while it is lifted, while gloves protect hands from dirt and sharp edges. A flashlight improves visibility during nighttime emergencies, and reflective safety triangles alert approaching drivers.
Step-by-Step Instructions for Changing a Tire
Step 1: Find a Safe Location
Safety should always be the first priority when dealing with a flat tire. If a tire fails while driving, the driver should gradually slow down and move the vehicle to a safe, level location away from traffic.
Parking lots, wide shoulders, or quiet roadside areas are ideal locations. Once the vehicle stops, turn on the hazard lights to alert other drivers. Engaging the parking brake is also essential because it prevents the vehicle from moving while it is being lifted.
If available, placing wheel wedges behind the tires adds an extra layer of stability and reduces the risk of the vehicle rolling.
Step 2: Loosen the Lug Nuts
Before lifting the vehicle, the lug nuts must be loosened slightly. Attempting to loosen them while the tire is suspended in the air can cause the wheel to spin.
Using the lug wrench, apply firm pressure to each lug nut and rotate it counterclockwise. The goal is not to remove the nuts completely at this stage but simply to break the tight seal that holds them in place.
Some lug nuts may require significant force to loosen, especially if they were tightened with mechanical tools. Standing carefully on the wrench handle can sometimes provide additional leverage.
Step 3: Lift the Vehicle with the Jack
After loosening the lug nuts, the next step is to position the jack under the vehicle’s designated lifting point. Most vehicles have reinforced areas near the wheels specifically designed to support the jack.
Consulting the vehicle’s manual helps identify the correct location for jack placement. Once positioned correctly, the jack can be operated to slowly lift the vehicle until the flat tire is several inches above the ground.
The lifting process should be steady and controlled. Ensuring the vehicle remains stable is crucial for safe tire replacement.
Step 4: Remove the Flat Tire
With the vehicle lifted, the lug nuts can now be completely removed. Carefully unscrew each nut and place them in a secure location where they will not roll away.
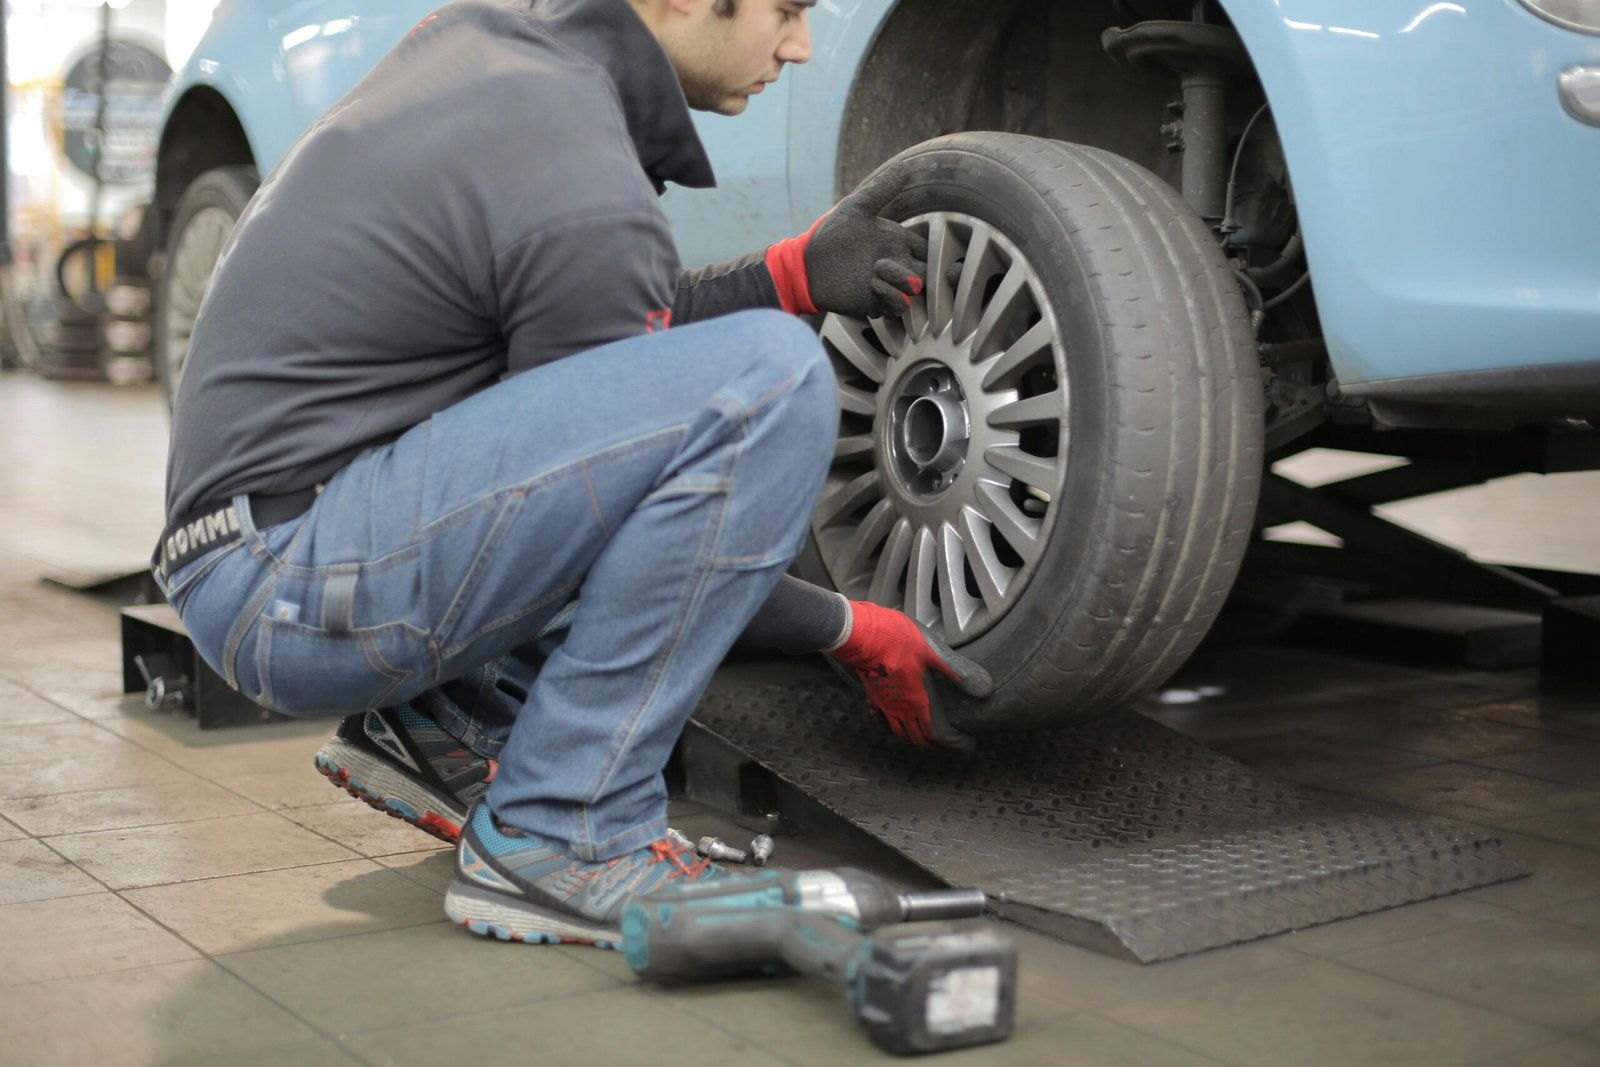
Once the lug nuts are removed, grip the tire firmly and pull it straight toward you. The wheel should slide off the hub with moderate effort. If it feels stuck, gently rocking the tire back and forth may help loosen it.
After removal, place the flat tire on the ground nearby to prevent it from rolling away.
Step 5: Install the Spare Tire
The spare tire must now be aligned with the wheel hub. Carefully lift the spare and position it so that the holes in the wheel line up with the bolts on the hub.
Once aligned, push the tire onto the hub until it sits securely in place. Replace the lug nuts by hand, turning them clockwise until they are snug.
It is important to tighten the lug nuts in a crisscross pattern rather than sequentially. This pattern ensures the wheel remains evenly balanced against the hub.
Step 6: Lower the Vehicle and Tighten the Lug Nuts
After the spare tire is secured loosely, the jack can be slowly lowered until the tire touches the ground. At this stage, the lug nuts should be tightened fully using the lug wrench.
Applying firm pressure ensures the nuts are secure and prevents the wheel from loosening while driving. Continuing to use the crisscross tightening pattern helps maintain proper alignment.
Once all lug nuts are tightened securely, the jack can be removed completely and stored along with the tools.
Important Safety Tips for Tire Replacement
Changing a tire is generally straightforward, but following proper safety guidelines is essential.
Drivers should always avoid performing tire changes on busy roads or unstable surfaces. If conditions are unsafe, contacting roadside assistance may be the better option.
Additionally, spare tires are typically designed for temporary use only. After installing a spare tire, drivers should visit a repair shop as soon as possible to repair or replace the damaged tire.
Regularly checking tire pressure and inspecting tires for wear can also help prevent unexpected flats.
Conclusion
Knowing how to change a tire is a valuable skill that every driver should possess. Flat tires can occur at any time, but understanding the correct procedure allows drivers to respond quickly and confidently.
By preparing the necessary tools, following proper safety precautions, and completing each step carefully, replacing a tire becomes a manageable task rather than a stressful emergency. This practical knowledge not only saves time but also increases personal safety and independence on the road.
Drivers who practice this process and remain familiar with their vehicle’s equipment will be better prepared to handle unexpected situations and continue their journey without unnecessary delays.
Frequently Asked Questions (FAQ)
How long does it take to change a tire?
Most people can change a tire in 15 to 30 minutes, depending on their experience and the tools available.
Can I drive long distances on a spare tire?
Spare tires are designed for temporary use only and should generally not be driven for more than 50 to 70 miles.
What causes a flat tire?
Common causes include punctures from sharp objects, worn tire tread, valve stem damage, and sudden impacts with potholes or curbs.
Do all cars come with a spare tire?
Many vehicles include a spare tire, but some newer models provide tire repair kits instead of full spare tires.
Should lug nuts be tightened in a specific pattern?
Yes, tightening lug nuts in a crisscross pattern ensures the wheel sits evenly on the hub and improves safety while driving.