Maintaining a clean and efficient baby steriliser is essential for ensuring the safety and hygiene of your baby’s feeding equipment. If you use a Tommee Tippee steriliser, regular descaling is a crucial part of its upkeep. Over time, minerals from water—especially in hard water areas—accumulate inside the steriliser, forming limescale that can reduce efficiency and potentially affect performance. Understanding how to properly descale your Tommee Tippee steriliser not only extends its lifespan but also ensures it continues to operate at optimal hygiene standards. This detailed guide provides everything you need to know, from step-by-step instructions to expert tips for maintaining a spotless steriliser.
Why Descaling Your Tommee Tippee Steriliser Is Important
Prevents Limescale Build-Up
How to Descale Tommee Tippee Steriliser Limescale is caused by mineral deposits left behind when water evaporates. If not removed, it can:
- Reduce heating efficiency
- Leave residue inside the unit
- Affect sterilisation performance
Ensures Proper Sterilisation
A clean steriliser ensures that bottles, pacifiers, and feeding accessories are properly disinfected, protecting your baby from harmful bacteria.
Extends Product Lifespan
Regular maintenance prevents internal damage, allowing your steriliser to function effectively for a longer period.
How Often Should You Descale Your Steriliser?
The frequency of descaling depends on water hardness:
- Hard water areas: Every 1–2 weeks
- Moderate water: Every 2–3 weeks
- Soft water: Once a month
If you notice white chalky residue or longer heating times, it’s a clear sign that descaling is needed.
What You Need Before Descaling
Before starting, gather the following:
- White vinegar or a dedicated descaling solution
- Clean water
- A soft cloth or sponge
- Measuring cup
Avoid harsh chemicals, as they may damage the steriliser or leave harmful residues.
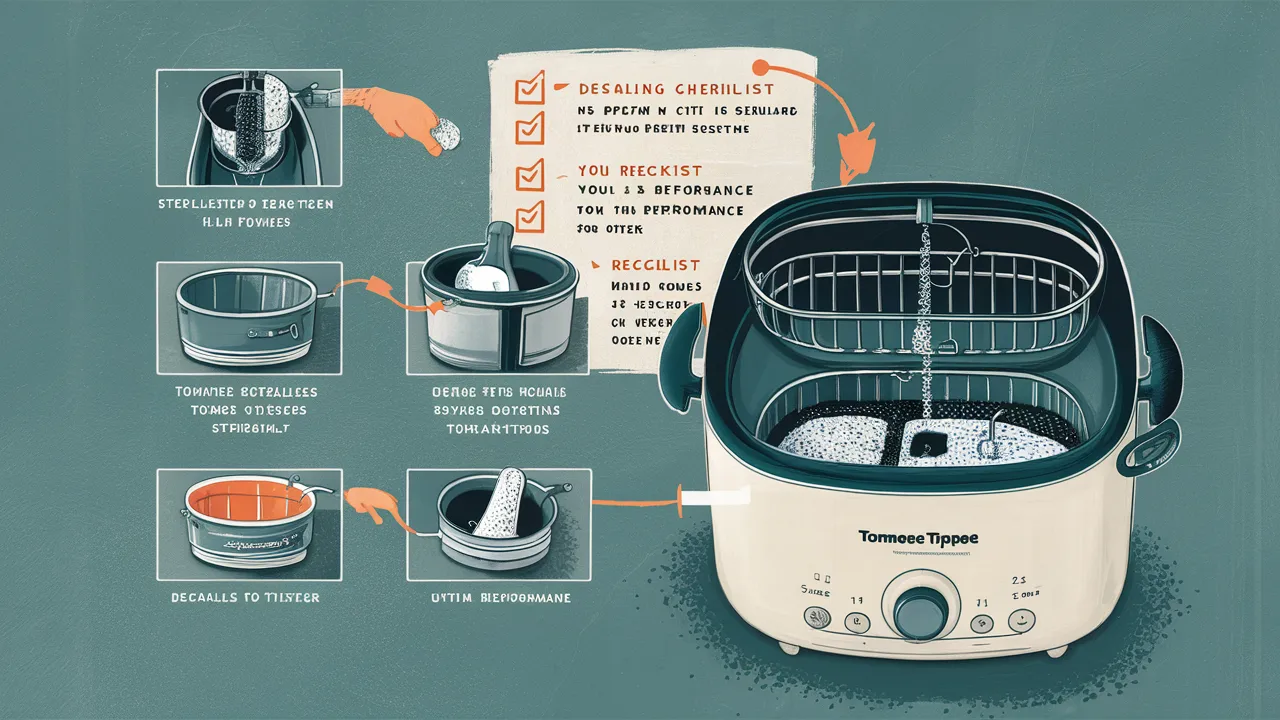
Step-by-Step Guide: How to Descale Tommee Tippee Steriliser
Step 1: Unplug and Cool Down
Ensure the steriliser is switched off, unplugged, and completely cool before cleaning.
Step 2: Empty the Steriliser
Remove all bottles, trays, and accessories. Empty any remaining water from the base.
Step 3: Prepare the Descaling Solution
Mix:
- Equal parts white vinegar and water
Alternatively, follow the instructions on a commercial descaler designed for baby products.
Step 4: Fill the Base
Pour the solution into the heating plate area until it covers the limescale deposits.
Step 5: Let It Soak
Allow the solution to sit for 30 minutes to 1 hour, depending on the severity of the buildup. This helps dissolve mineral deposits effectively.
Step 6: Rinse Thoroughly
Empty the solution and rinse the steriliser multiple times with clean water to remove any residue.
Step 7: Wipe Clean
Use a soft cloth or sponge to gently wipe the interior. Avoid abrasive materials that could scratch the surface.
Step 8: Run a Fresh Cycle
Fill the steriliser with clean water and run a full cycle without any bottles inside. This ensures all cleaning solution remnants are removed.
Using Vinegar vs Commercial Descaler
Vinegar Method
- Natural and affordable
- Easily available
- Effective for light to moderate limescale
Commercial Descaler
- Specifically formulated for appliances
- Faster results for heavy buildup
- Often recommended by manufacturers
Both options are effective when used correctly.
Common Mistakes to Avoid
- Using bleach or harsh chemicals
- Not rinsing thoroughly after cleaning
- Scrubbing with abrasive tools
- Ignoring regular maintenance
Avoiding these mistakes ensures safe and effective cleaning.
Tips to Prevent Limescale Build-Up
Use Filtered or Distilled Water
Reducing mineral content helps minimize limescale formation.
Empty After Each Use
Always remove leftover water to prevent residue accumulation.
Dry the Base Regularly
Wiping the base after use reduces moisture and mineral deposits.
Follow a Cleaning Schedule
Consistency is key to maintaining optimal performance.
Signs Your Steriliser Needs Descaling
- White or chalky residue on the base
- Longer sterilisation cycles
- Reduced steam production
- Unusual odors
Addressing these signs early prevents more serious issues.
Benefits of Proper Steriliser Maintenance
- Improved hygiene for baby products
- Enhanced appliance efficiency
- Longer product lifespan
- Reduced risk of malfunction
Maintaining your steriliser ensures peace of mind and consistent performance.
Conclusion
Knowing how to descale a Tommee Tippee steriliser is essential for maintaining a safe and hygienic environment for your baby’s feeding equipment. Regular descaling not only prevents limescale buildup but also ensures efficient operation and long-term durability. By following a simple cleaning routine and using safe descaling methods like vinegar or approved solutions, you can keep your steriliser in excellent condition. Consistent maintenance ultimately guarantees that your baby’s bottles and accessories are sterilised effectively, providing the highest level of care and protection.
FAQ: How to Descale Tommee Tippee Steriliser
Can I use vinegar to descale my steriliser?
Yes, white vinegar is a safe and effective natural descaling solution when diluted with water.
How long should I leave the descaling solution in the steriliser?
Typically 30 minutes to 1 hour, depending on limescale buildup.
Is it safe to use the steriliser immediately after descaling?
Yes, but you should run a full cycle with clean water first to remove any residue.
Can I use lemon juice instead of vinegar?
Lemon juice can work, but vinegar is generally more effective for dissolving limescale.
What happens if I don’t descale regularly?
Limescale buildup can reduce efficiency, damage the unit, and affect sterilisation quality.
Do all Tommee Tippee sterilisers require descaling?
Yes, all models that use water for steam sterilisation will require regular descaling.